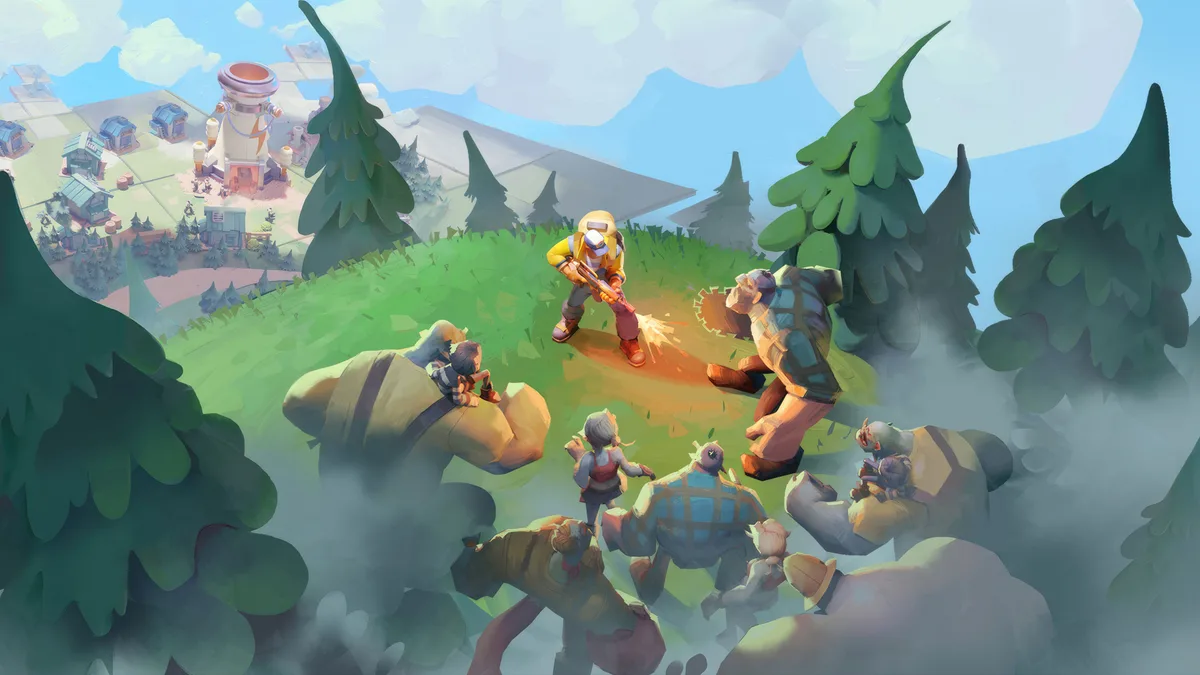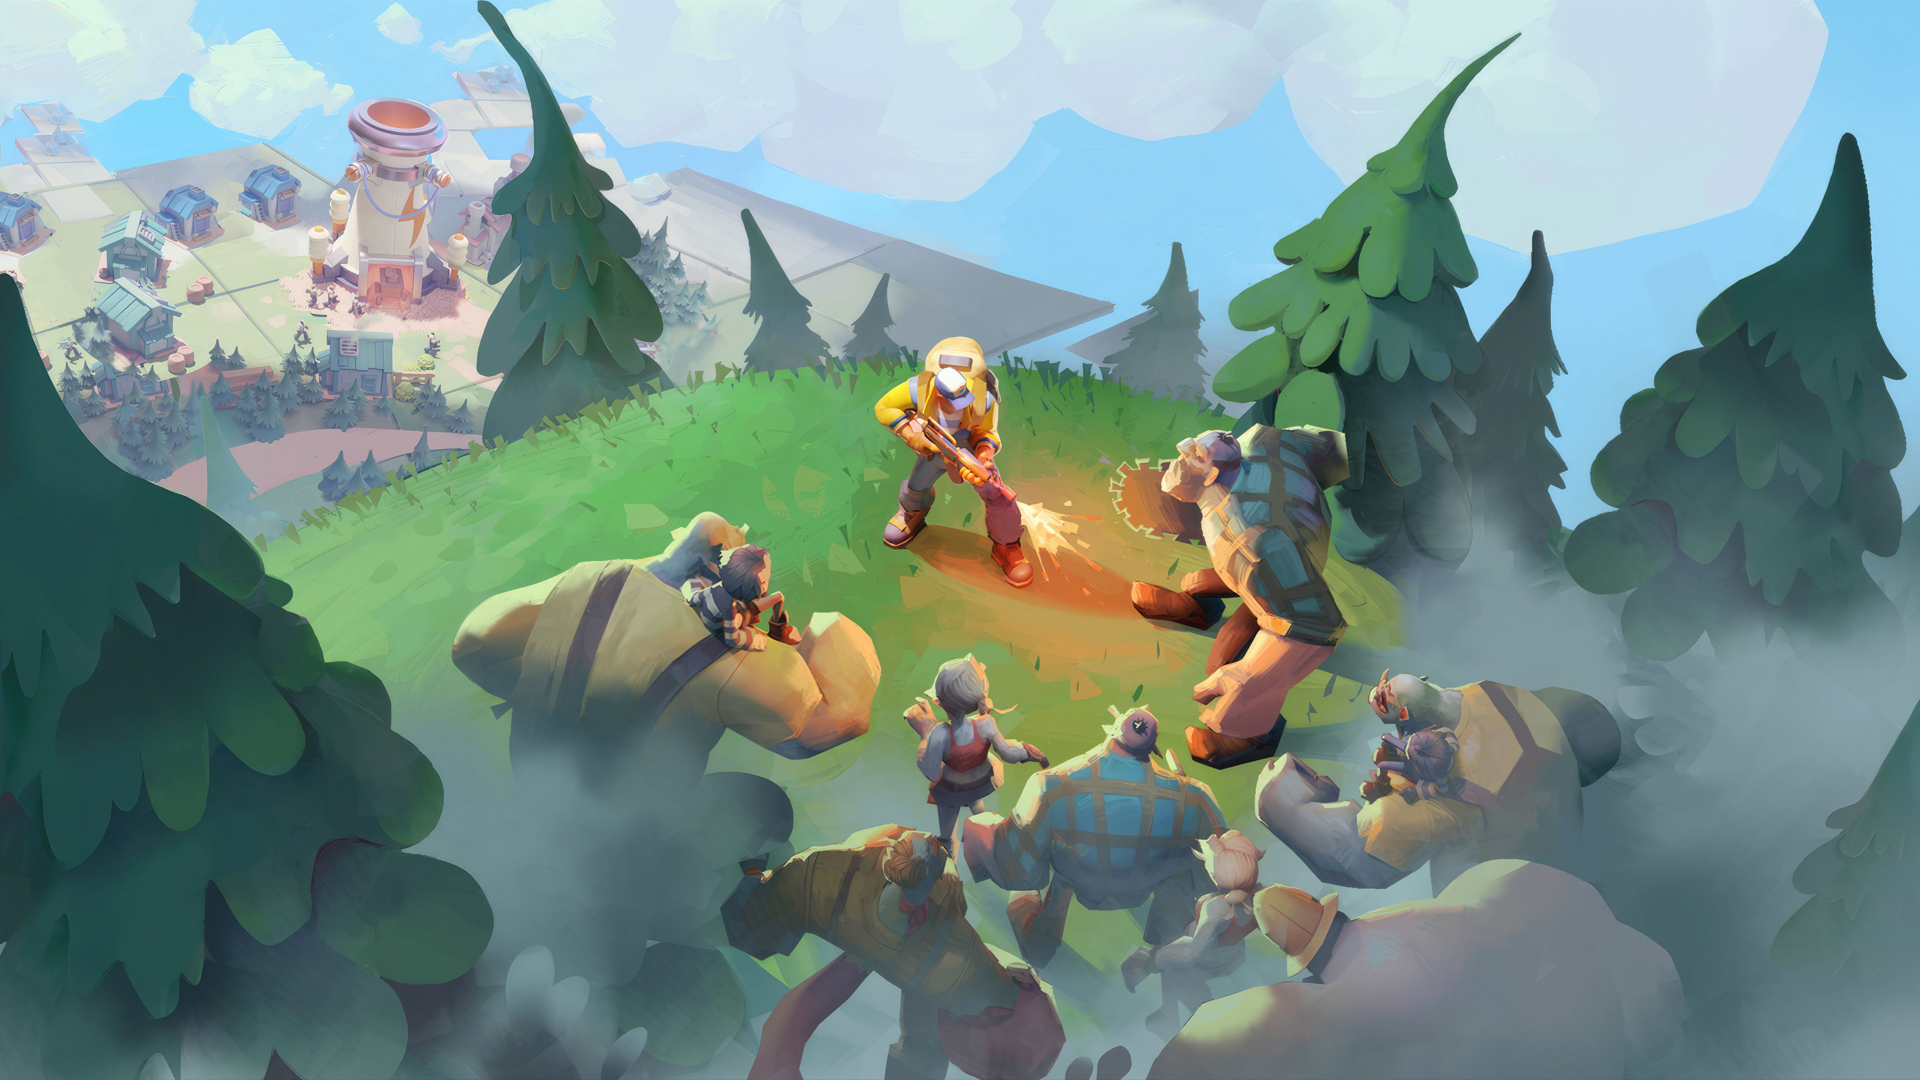
Let's be honest up front: Tiles Survive! is a mobile game. FunPlus built it for Android and iOS, and there is no native Windows client — no Steam page, no standalone launcher. So when we talk about "playing it on PC," we mean running it inside an Android emulator: a program that boots a virtual Android device in a window on your desktop. Done right, that's actually the better way to play — bigger screen, real keyboard and mouse, no thermal throttling, and multi-hour sessions without draining a battery. Done wrong, you get stutter, crashes, and input lag that makes a slow-paced survival game feel broken.
This guide gets you to "done right." Your account and cross-progression carry over fine, since the game syncs through its own FunPlus/Google login rather than the device — so you can start on your phone and continue on PC without losing a thing.
Pick the right emulator (and why it matters)
Not all emulators are equal, and the wrong one is the single biggest cause of a bad experience. The four that reliably run Tiles Survive! on Windows are BlueStacks 5, LDPlayer 9, MuMu Player, and MEmu. Any of them will launch the game; the differences show up under load.
- LDPlayer — The lightest of the group and the one to try first on a modest PC. Fast install, low idle RAM, and genuinely useful extras: multi-instance (run two accounts side by side), a macro recorder, and a keyboard-mapping editor that's easy to live in.
- BlueStacks 5 — The most polished and best-supported. It's a little heavier than LDPlayer but has the best compatibility track record and the cleanest key-mapping UI. A safe default if you value stability over raw lightness.
- MuMu Player — Strong performance and good defaults; a fine pick if the first two give you trouble.
- MEmu — Perfectly capable and worth trying as a fallback if a specific build misbehaves.
My recommendation: start with LDPlayer on a mid-range or older machine, or BlueStacks 5 if you have RAM to spare and want the smoothest ride. If one emulator crashes or stutters on your hardware, don't fight it — install another. They're free, and compatibility varies more by your exact GPU and drivers than by any leaderboard.
One caution: download emulators only from the official site (bluestacks.com, ldplayer.net, and so on). "Modded" builds bundled elsewhere are a classic malware vector.
Recommended emulator settings
This is where lag lives or dies. Tiles Survive! is not a demanding 3D shooter — it's a strategy/survival title — so you do not need to max everything out. The goal is a stable, cool-running instance, not benchmark numbers.
Open your emulator's settings (usually a gear or hamburger menu on the side toolbar) and work through these:
- CPU cores: Assign 2–4 cores. Four is plenty for this game; two is fine on low-end machines. Never assign all your cores — Windows and the emulator's own overhead need headroom, and starving them causes stutter, not speed.
- RAM: Allocate 4 GB for a comfortable experience, 2 GB if your PC only has 8 GB total. A rough rule: give the emulator up to half your system RAM and no more. On a 16 GB machine, 4–6 GB is the sweet spot.
- Graphics / rendering mode: This is the big one. If you see stutter or artifacts, switch the rendering mode — try OpenGL and DirectX and keep whichever is smoother. On integrated Intel UHD or AMD Radeon graphics, OpenGL (or Vulkan, if offered) usually wins; on a dedicated NVIDIA/AMD GPU, DirectX often runs cleaner. There's no universal answer, so test both for a few minutes each.
- Resolution & DPI: 1280×720 is the practical default — sharp enough on a monitor without wasting GPU. Drop to 960×540 on weak hardware. Set DPI around 160–240 so UI text and buttons stay legible at that resolution.
- Frame rate cap: Cap at 60 FPS. Higher numbers do nothing for a game like this and just generate heat and fan noise. On a struggling low-end PC, capping at 30 FPS can actually smooth things out by stabilizing frame pacing.
- Enable virtualization (VT-x / AMD-V): The most important toggle you might be missing. If the emulator warns that virtualization is off, enable VT-x (Intel) or SVM (AMD) in your BIOS — it can multiply performance. Also turn on Windows "High performance" or "Game" power mode so the CPU doesn't downclock mid-session.
After changing CPU, RAM, or rendering settings, fully restart the emulator — most of these only apply on a fresh boot.
Key mapping: make it feel like a PC game
The payoff of playing on PC is control, and every emulator here ships with a keyboard-mapping editor (look for a keyboard icon on the side toolbar). It lets you drop virtual buttons onto the screen and bind them to keys and mouse clicks.
For a tap-and-menu game like Tiles Survive!, you don't need an elaborate layout — a few smart bindings go a long way:
- Mouse = tap. Left-click already acts as a finger tap, so most of the game is playable with the mouse alone. That's your foundation.
- Bind repetitive actions to keys. Map claim/collect, "start" or "confirm" buttons, and any frequent action button to keys under your left hand (Q, E, R, Space) so you're not hunting for the same on-screen button every round.
- Scroll to zoom / pan. Set the mouse wheel to zoom the tile map if the editor supports it — far comfier than pinch gestures.
- Use macros sparingly and honestly. LDPlayer and others include a macro recorder for repetitive daily collection. It's a real convenience, but automating gameplay can brush up against the game's terms — keep it to menu chores, not competitive play.
- Save your layout once it feels right, and export it if the emulator allows, so a reinstall doesn't cost you the setup.
Spend five minutes here on day one. A phone game with a tuned keyboard map genuinely feels like it was made for your desk.
Fixing lag and crashes (and the hardware behind it)
If things aren't smooth, work through this in order — most problems are one setting or one driver away from fixed:
- Update your GPU drivers first. Stale NVIDIA/AMD/Intel drivers cause more emulator stutter and crashes than any in-app setting. This is step one, always.
- Switch the rendering mode. Bears repeating: OpenGL ⇄ DirectX is the number-one fix for stutter and graphical glitches.
- Lower resolution and cap FPS. Drop to 960×540 and cap at 30 FPS on weak hardware before assuming the game is broken.
- Close background apps. Chrome with 40 tabs and a running emulator will fight over RAM. Free it up.
- Reduce instances. Running multiple accounts at once multiplies the load — scale back if one instance is already struggling.
- Reinstall or switch emulators. If a specific build keeps crashing, a clean reinstall or a different emulator often resolves it outright.
On the hardware side, the game is light but the emulator has real minimums. A comfortable baseline: a quad-core CPU (Intel Core i5 / AMD Ryzen 5 or better), 8 GB RAM minimum — 16 GB strongly preferred so you can spare 4 GB for the emulator without choking Windows, and any OpenGL 3.0+ capable GPU. An SSD matters more than you'd expect: emulators load and boot dramatically faster off one than a mechanical drive. And make sure virtualization is enabled in BIOS — it's the difference between "playable" and "smooth."
The short version
There's no native PC version, so you're running Android on Windows — and that's fine. Grab LDPlayer (light machines) or BlueStacks 5 (smooth all-rounder), give it 2–4 cores and ~4 GB RAM, cap at 60 FPS at 720p, and switch between OpenGL and DirectX until the stutter disappears. Enable virtualization, keep your GPU drivers current, map a couple of keys, and log in with your existing account. Ten minutes of setup, and a phone survival game turns into a comfortable big-screen one.
Sources: BlueStacks — Play Tiles Survive! on PC, LDPlayer — Tiles Survive! on PC, MuMu Player — Tiles Survive! on PC, Best Android Emulator for PC 2026 (Codersera).